Since recently publishing a video blog, I’ve had a lot of people request for me to show them how to create a blog and set it up. I decided to put together a video tutorial and blog post, showing you step-by-step how you can create a blog and set it up in minutes using WordPress. I will also show you how you can get a free domain name in the process – check it out below.
Click here to watch on YouTube
This page contains affiliate links. If you purchase a product through one of them, I will receive a commission (at no additional cost to you). I only ever endorse products that I have personally used and benefitted from personally. Thank you for your support!
Ready to start making money with a successful blog? CLICK HERE to sign up for Bluehost at a discounted rate!
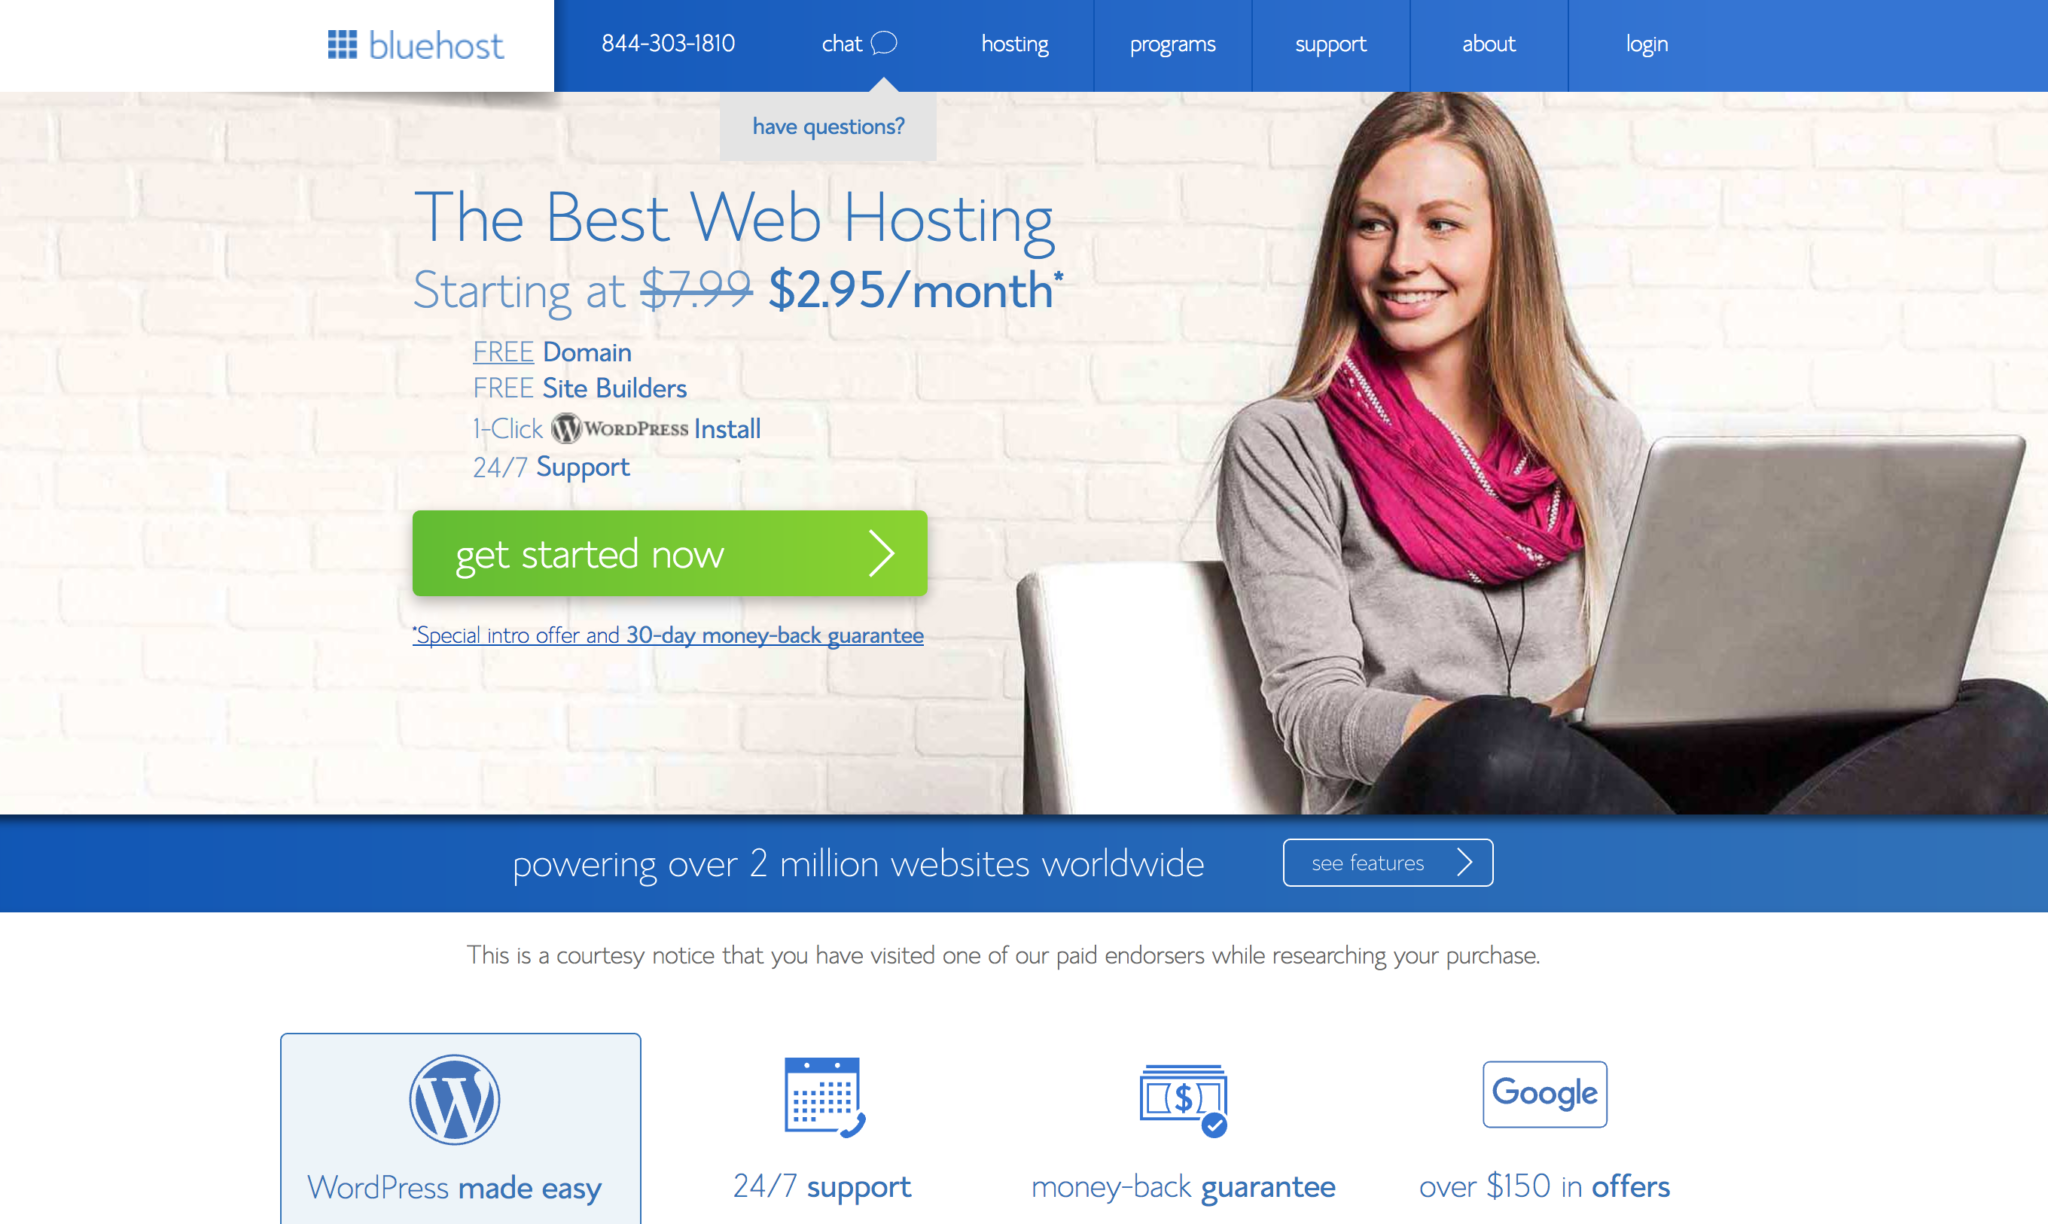
As you can see in the video above, I now use for all of my websites. Bluehost is a hosting service that is required for you to host all of your websites and blogs on. They give you a free domain name (normally $10/year) when you use them and automatically link up the name servers with their hosting. Bluehost is extremely user friendly and you can install in the click of a few buttons. Wordpress is the platform that I use, and it’s much better to self-host your own blog with your own domain name, if you’re serious about blogging. See the instructions below on how to create a blog and set it up in minutes.
The great thing about Bluehost is that you can cancel with them at any time and they will refund you any amount of hosting that you didn’t use. You can also sign-up for as low as $2.95/month, which is an awesome deal.
Ready to start making money with a successful blog? CLICK HERE to sign up for Bluehost at a discounted rate!
Note: I am a Bluehost affiliate, which means that they pays me a commission every time I refer someone to them. But this didn’t influence my recommendation, because all hosting services have similar programs. I recommend because I honestly believe they offer the best hosting available.
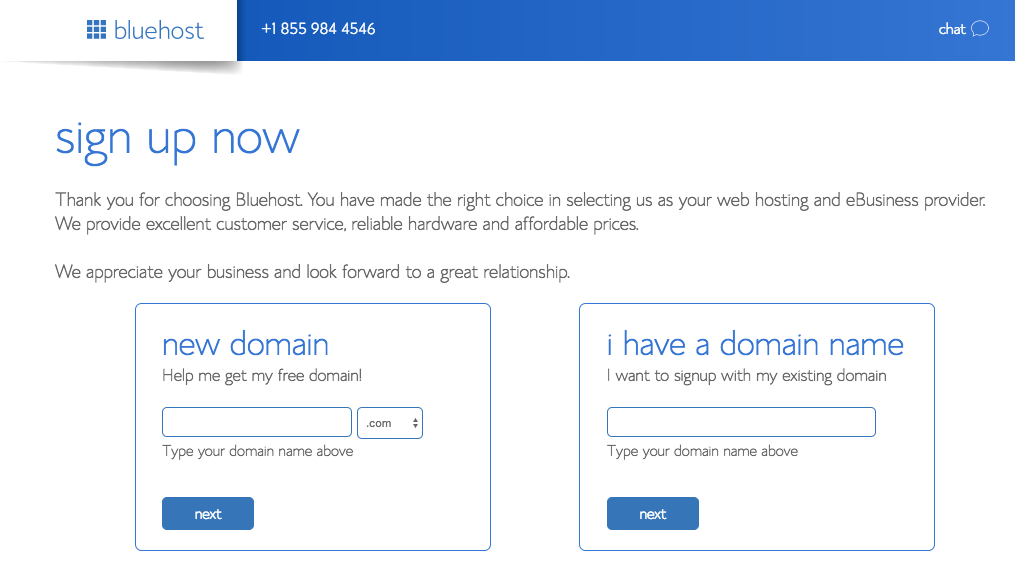
Next, you’ll be asked to add the domain name you desire. The domain name is going to be the URL for your future blog that people will be able to visit. I recommend setting up a “.com” name over a “.net” or anything else, as “.com” is the most popular. You need to make sure your domain name is available and not taken however, so I’d recommend to come up a few before you find one that you like.
Alternatively, if you already have a domain name set up with or another name domain name registrar, then you can add it to the section.
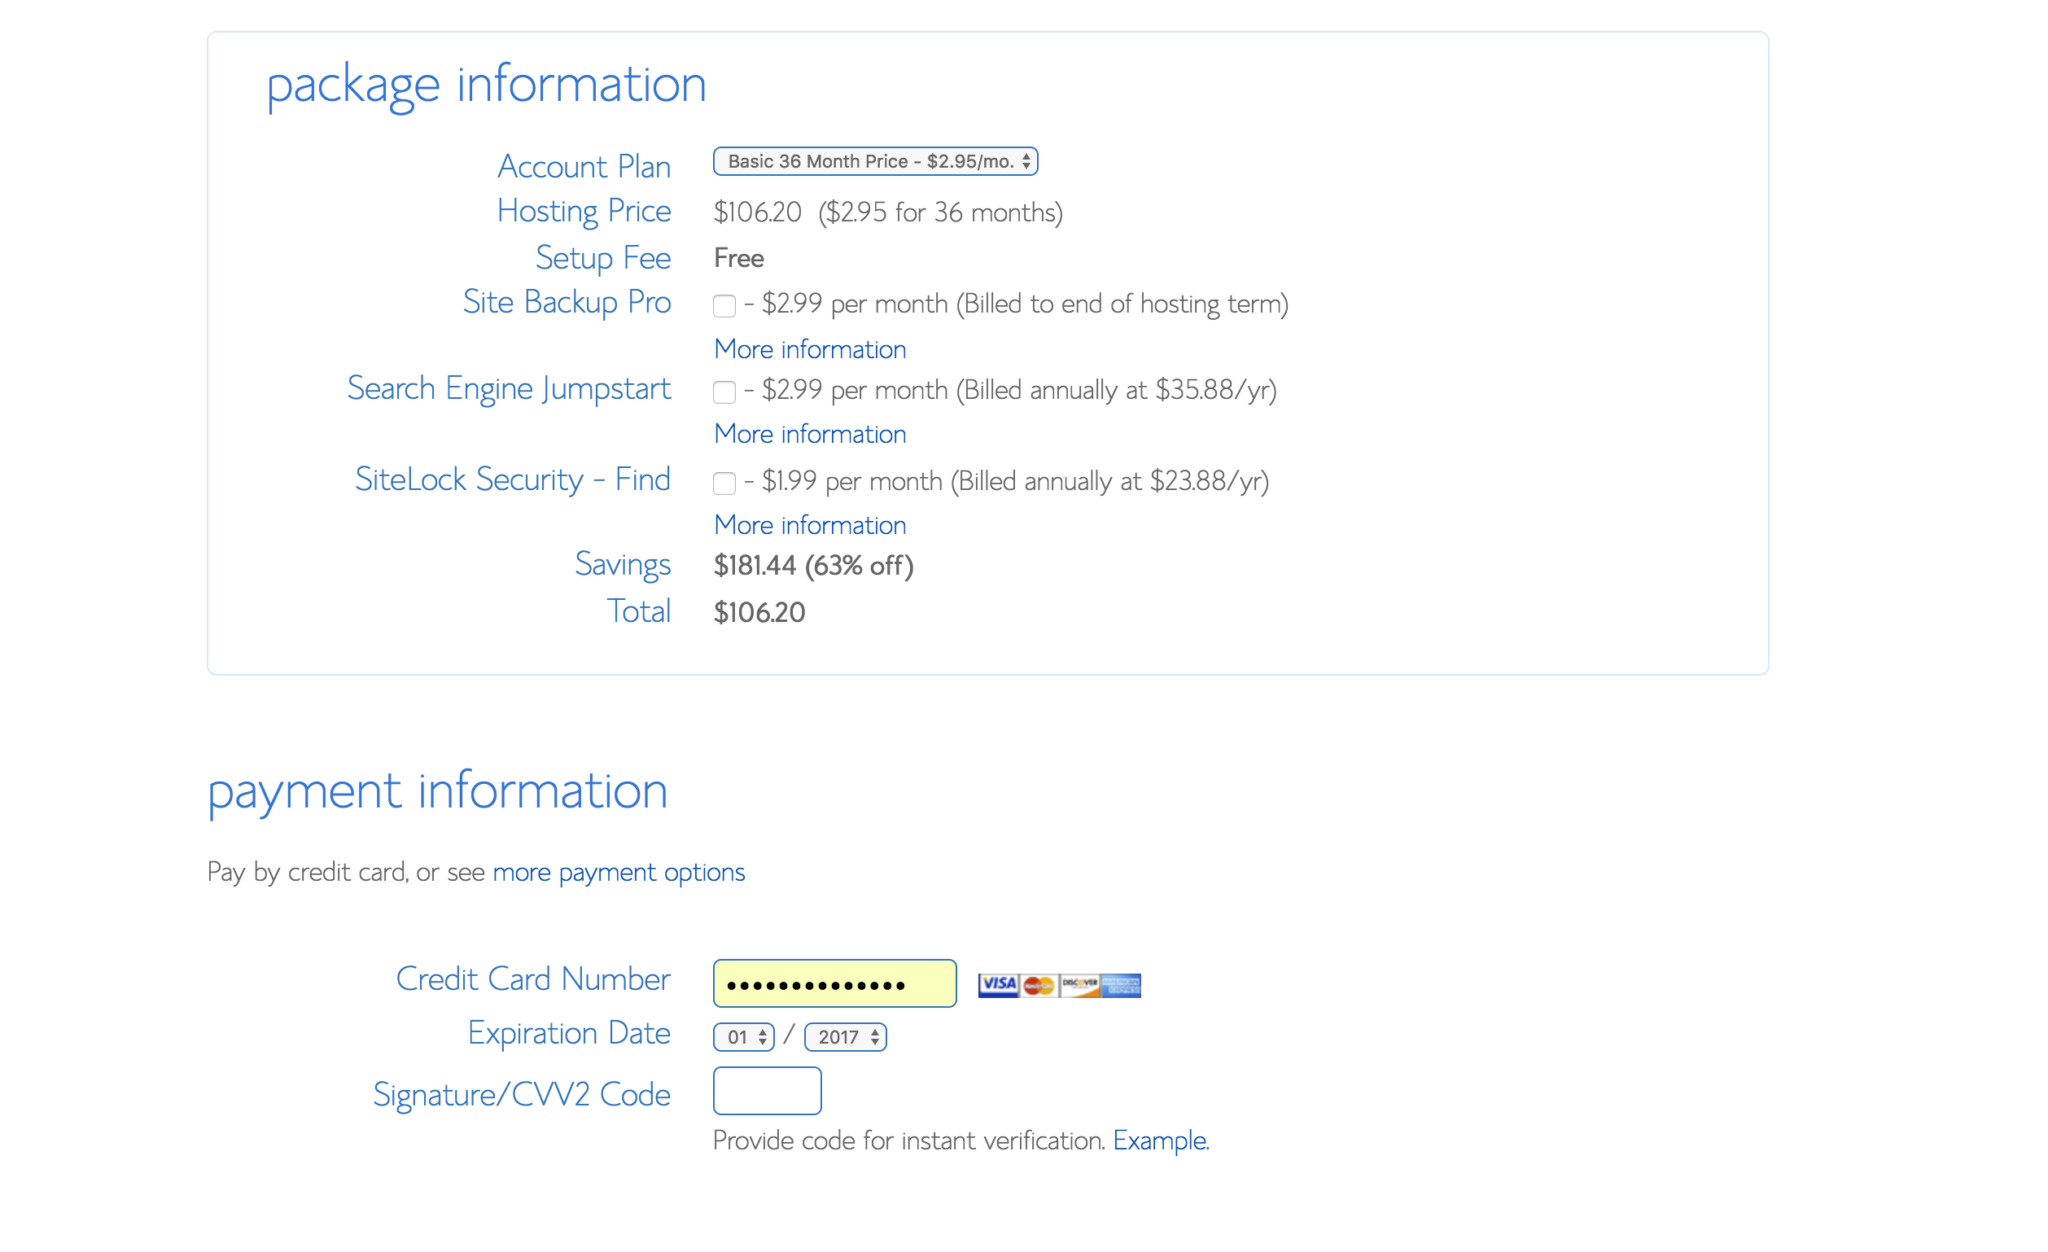
Once you’ve selected your domain name and it’s available, you then need to fill out your personal information and select your hosting package. I recommend the 12 month hosting package. You can get as low as $2.95 per month with Bluehost if you commit to 36 months.
Ready to start making money with a successful blog? CLICK HERE to sign up for Bluehost at a discounted rate!
I generally recommend to ignore all of the extras that they will attempt to sell you. The only thing I’d really consider would be the Domain Whois Privacy, which means that people can’t find out your personal information when they look up your domain name. But none of the extra stuff is necessary moving forward.
Finally, you just need to enter your payment information and then click on “Next” to move forward in setting up your blog.
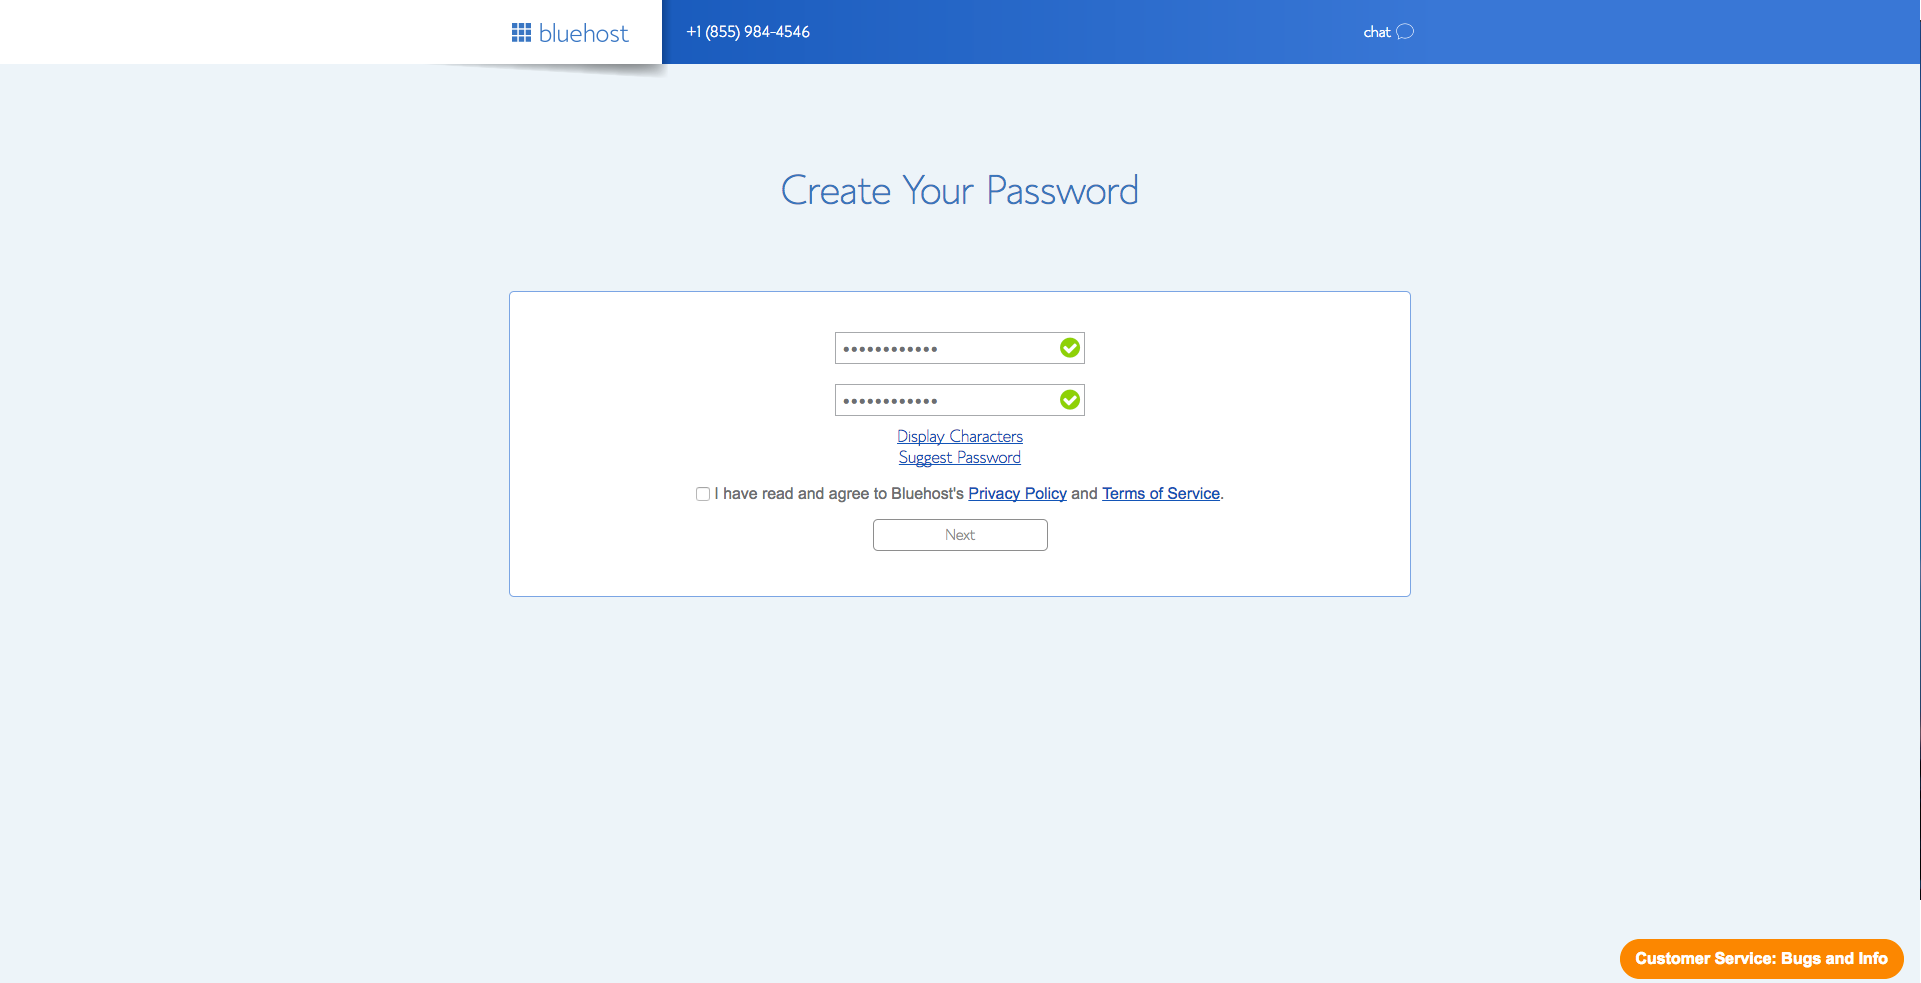
Once you’ve signed up successfully, you’ll be redirected to a page that will ask you to set up a password to access Bluehost. Click on “Create your password” and put in whatever you want. After that you should be taken to the login page, where you can enter your domain or username, along with your password to access the control panel.
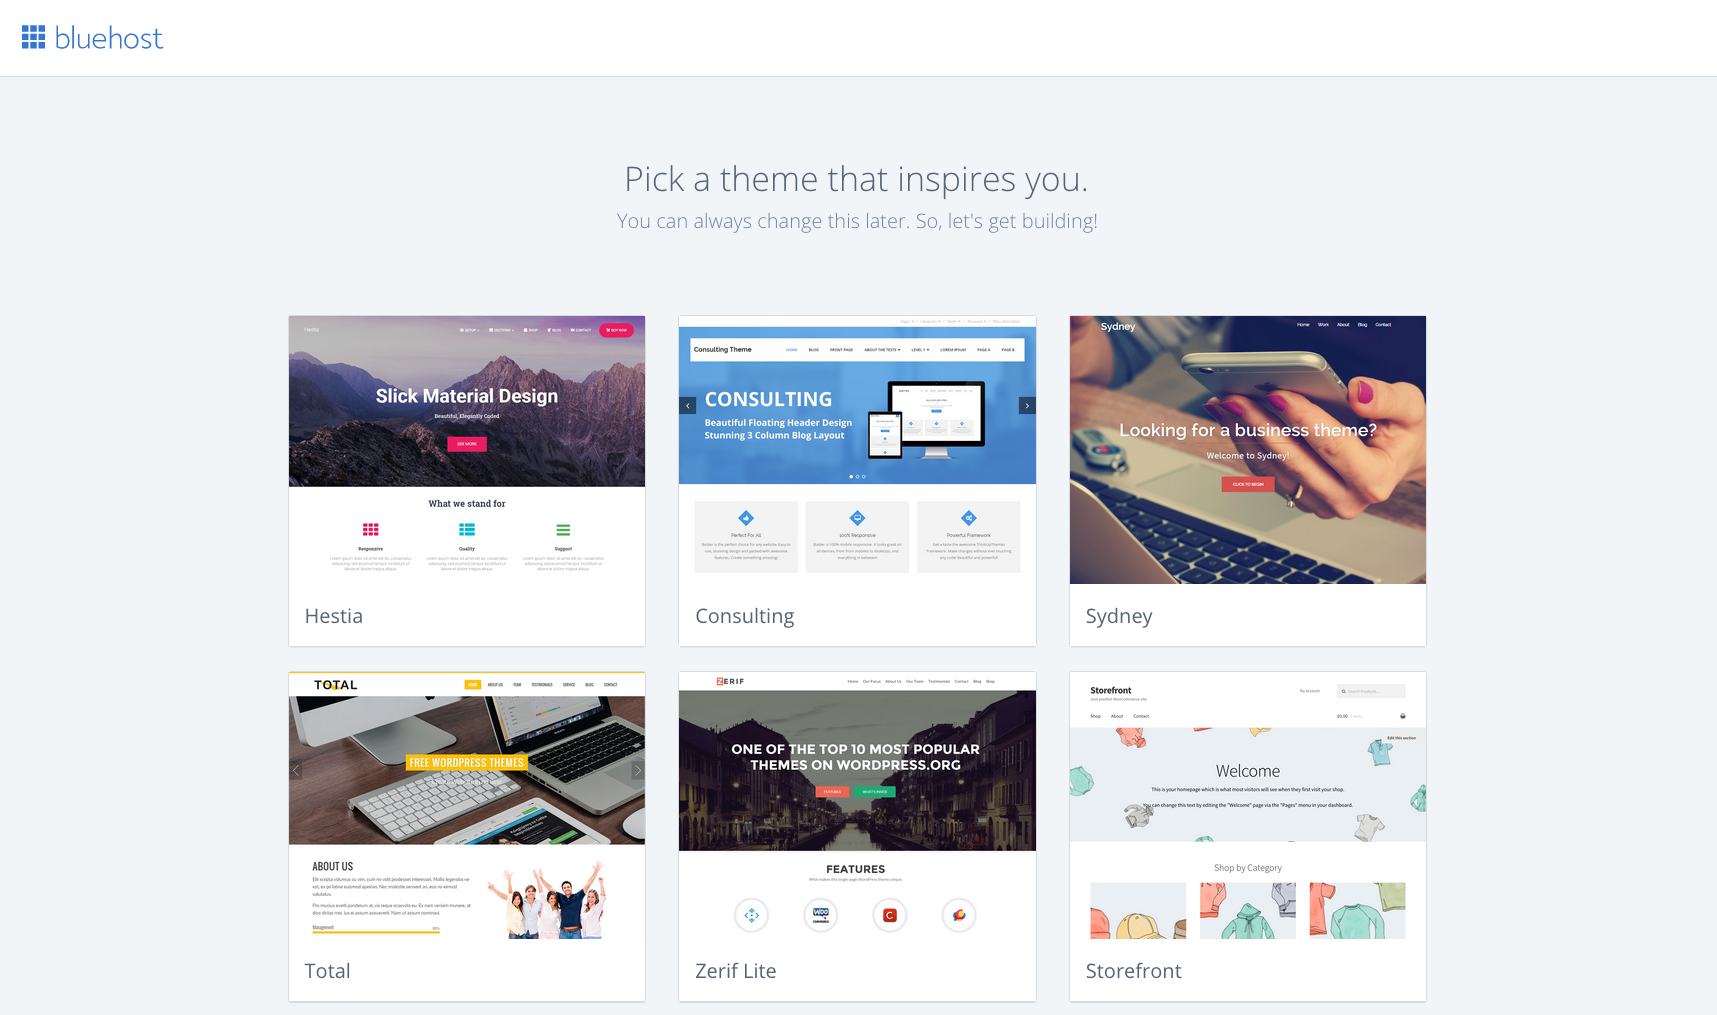
Great, you've picked a theme for your WordPress blog, now it will ask you to login to your WordPress dashboard.
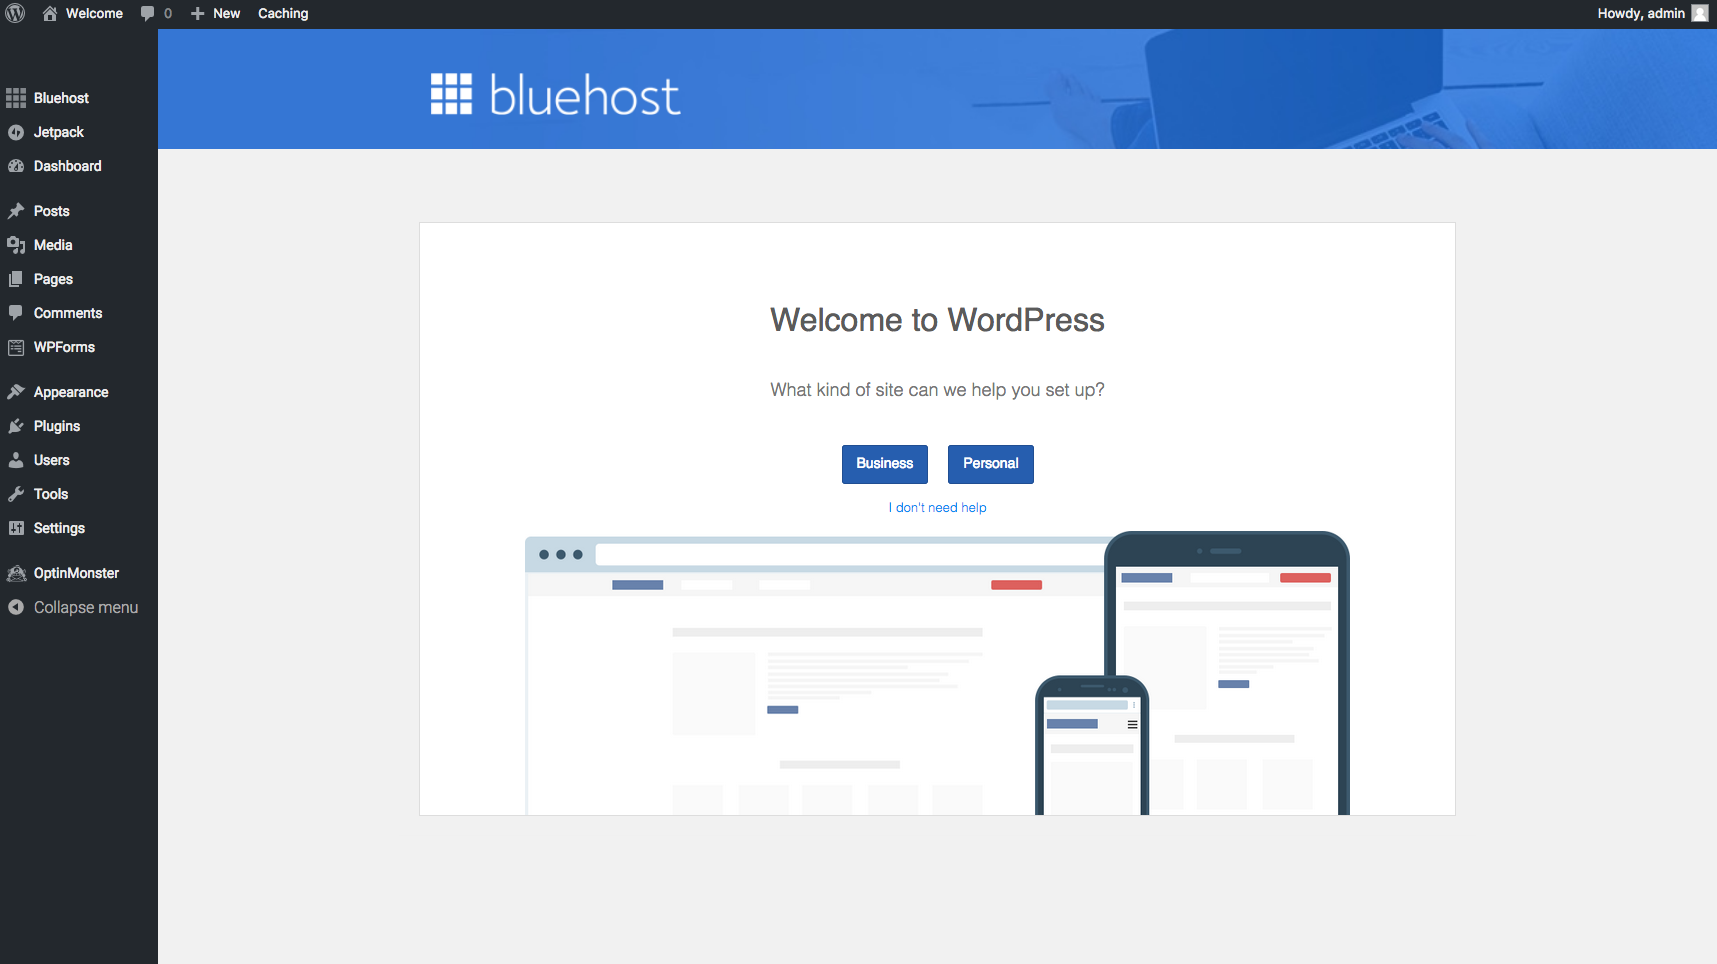
Next, it will ask you if you want to use WordPress for Business or Personal use. Choose the appropriate option, but most of you would choose Business.
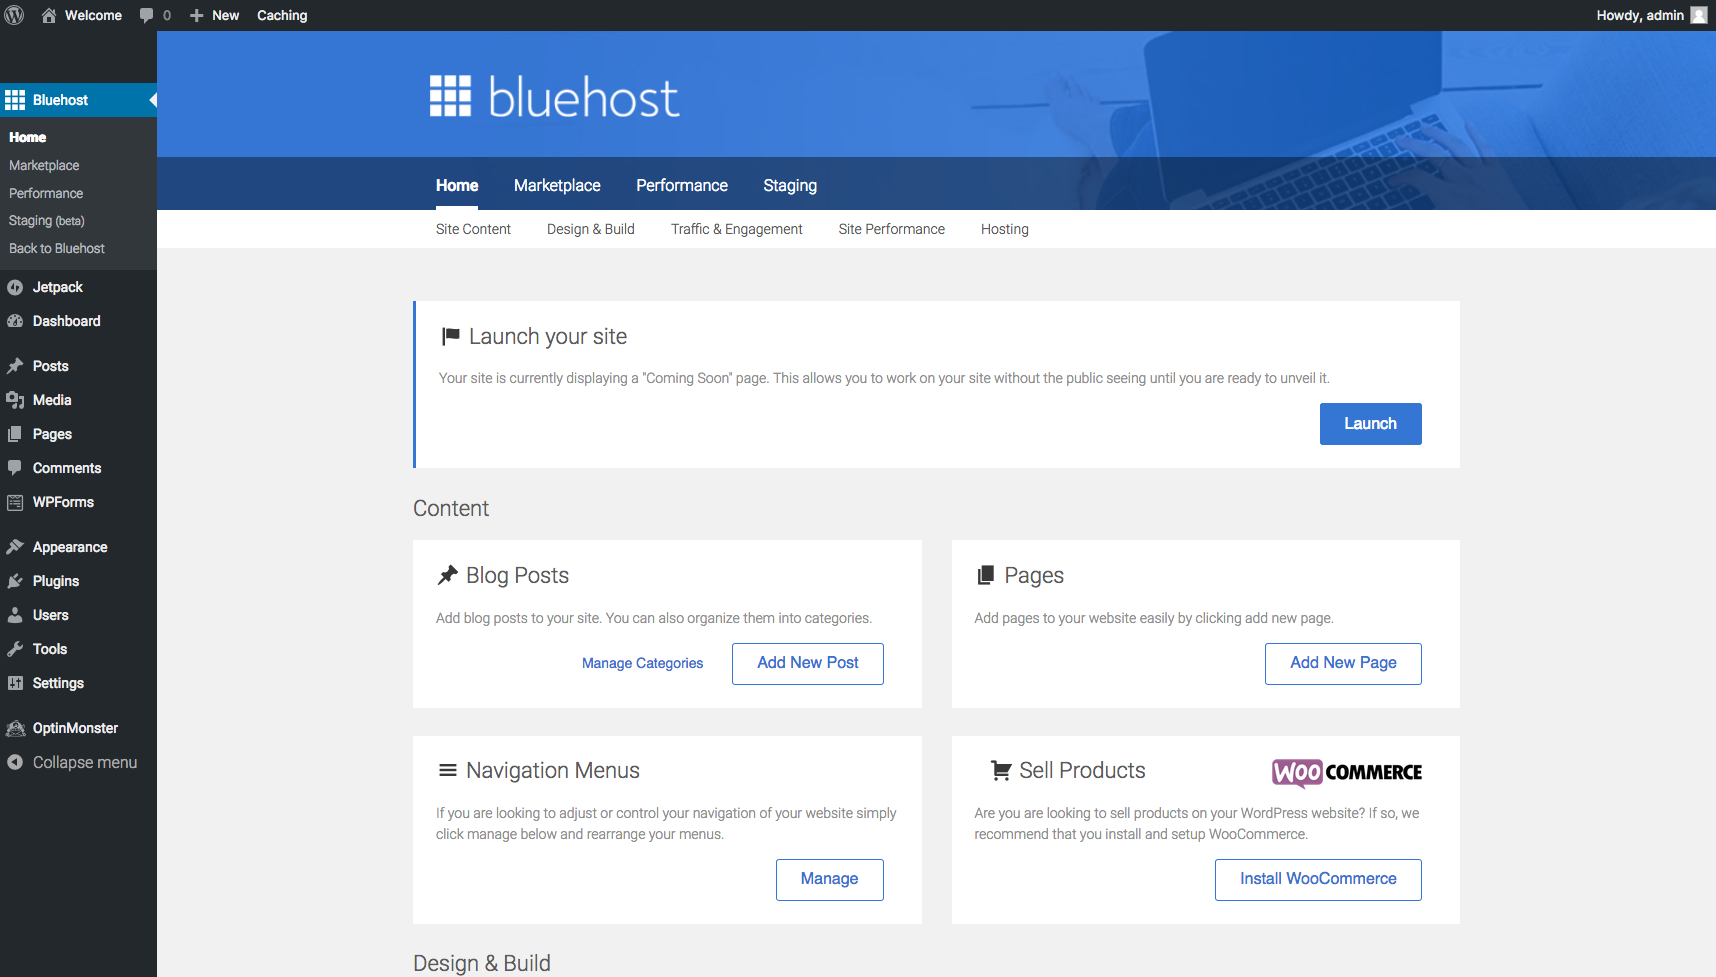
You should then be redirected to the dashboard where you can set up your WordPress blog, customize it in whatever you want, and write your first blog post.
Be sure to watch the video I have above if you want to get a quick tour of WordPress and how you can set up your theme, plugins, and write your first post.
Congratulations, you’ve now set up your very own blog! What’s next? Here’s a few tips that can get you started on setting up your blog further.
You should now be well on your way to building a successful blog. I hope this tutorial really helped you to set up your own blog. Let me know if there’s any questions below!
Ready to start making money with a successful blog? CLICK HERE to sign up for Bluehost at a discounted rate!
This page contains affiliate links. If you purchase a product through one of them, I will receive a commission (at no additional cost to you). I only ever endorse products that I have personally used and benefitted from personally. Thank you for your support!




 (18 votes, average: 4.39 out of 5)